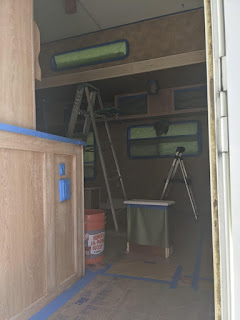
We knew when we bought our RV that we wanted to make it our own, just as you do when you move into a house. For the first few months of renovations (when Chris was still working full time) he spent his spare time on the unseen but important tasks like wheel bearings, dump tank valves, brakes, etc. About the time his leave of absence started in September, we really started focusing on the inside. Here's what we started with:
 |
| This kid LOVES himself a spray bottle and microfiber rag |
After sanding, we wiped everything down with TSP and rinsed with water. After TSPing and taping, it was time for primer! We used Dunn Edwards primer and paint, and on the recommendation of the paint store, used exterior paint for the cabinets. It's only been about 6 weeks since we moved in, but so far I've been very pleased with how it's held up and how easily it cleans (which was not the case in our first house when we painted the cabinets). We used a medium gloss (I want to say satin?) for the walls and high-gloss for the cabinets.
 |
| An important part of this step was having a good friend around whose kids were gone with grandparents the weekend we painted |
 |
| Also essential for any summer project |
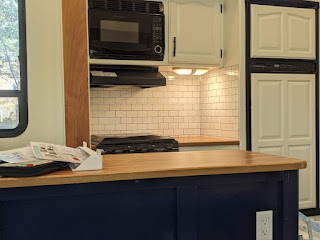
The walls and upper cabinets are color matched to Behr's Spun Cotton (my favorite white), but like I mentioned earlier, we used different glosses to give a bit of contrast (thanks to our neighbor for the idea!). The lower cabinets and the base of our bed are Dunn Edwards Black River Falls, which is very much dark blue, not black. We hired a friend of Chris' with a paint sprayer to help us with the paint and primer and we are SO glad. I can't imagine how long rolling/brushing would have taken, plus there would have been roller bubbles and brush marks to contend with on such smooth walls.
 |
| 😍 |
We also put peel and stick butcher block on the countertops, because time, money and weight wouldn't allow us to replace them with actual butcher block. The backsplash is peel and stick that so far hasn't fallen down. And yes, we painted the fridge (the big cabinet doors on the right).
Coming up in part 2--details on the finishing touches, furniture and the kids' room (spoiler alert: there's a rock wall).


Comments